Step-By-Step Overview Of The Pool Construction Process
Construction of a residential swimming pool consists of a well-planned and executed series of steps involving design, engineering, and building phases. Usually, homeowners will Google the information on what one can expect if they decide on such a project, and this is one of the main reasons that they go here to understand more about the duration, permits, and technical details of the project. Of course, every work is different depending on the state of the property and the design wish; the main construction process, in general, follows a typical step-by-step progression.
Initial Consultation and Site Evaluation
At the beginning of the consultation and site evaluation stage, the contractor goes through the property conditions with the owner. The backyard size, gradient, soil condition, water drainage, and gates will be among the factors that the contractor considers.
In addition, the contractor also checks with local zoning and property boundary regulations. Testing of the soil can be done to check its stability, especially when there is clay or limestone. The purpose of such a feasibility study is to figure out if there will be a need for additional structural supports or if the land will have to be regraded prior to digging.
Design and Engineering Plans
Following the establishment of feasibility, the next step involves the creation of detailed design and engineering plans. The final decisions are made regarding the shape, depth of the pool, and steps, tanning ledges, spas, or water elements, if any. Structural engineers prepare detailed technical drawings with dimensions, steel reinforcement layout, plumbing lines, and electrical systems. These documents are then sent to the relevant local authorities for approval through the permitting process. The time taken to obtain the permit varies, but no construction can commence until all regulatory requirements have been met.
Excavation and Ground Preparation
Once permits have been obtained, the excavation work will be done. The use of heavy machinery for digging the pool cavity according to the engineering plans is a given. At this stage, a very high level of accuracy is required because the shape and depth have to conform to the design that was approved. Once the excavation is completed and the soil base compacted to a level capable of supporting the structural frame load, work can continue. Any changes in drainage or installation of underground utility lines that may be required should be completed beforehand.
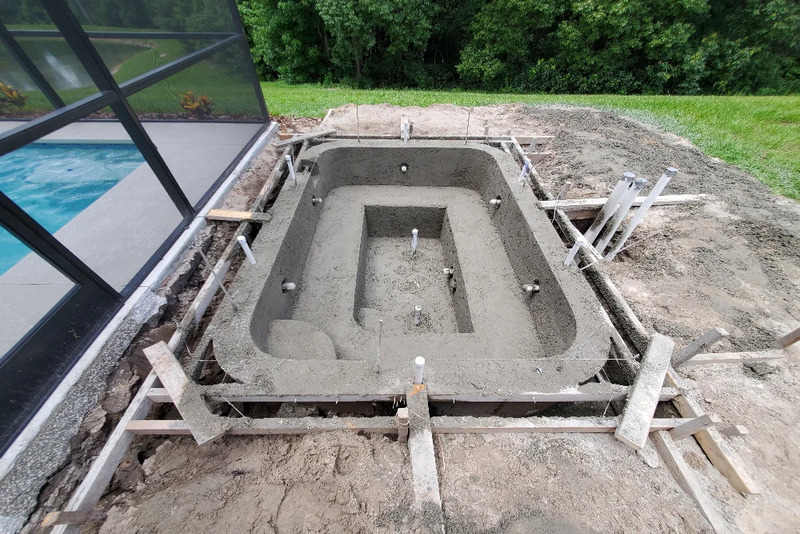
Structural Framing and Plumbing Installation
The next thing to do is install the steel reinforcement framework. Steel rebar is arranged in a grid to give the structure a great level of strength, and it is basically the steel that will hold the concrete together, resisting cracking as the years go by. Meanwhile, the plumbing lines for circulation systems, skimmers, drains, and water features are also installed. Also, during this phase, electrical conduits for lighting and other equipment are set up. These tasks require the right alignment and a firm installation as one of the sure paths to a durable pool and an efficient system in the long run.
Shell Application and Curing
After the installation of the structural frame, the pool shell is made of gunite or shotcrete materials. Basically, this concrete mixture is sprayed over the steel reinforcement to become a strong, single-piece structure. After the shell has been applied, it has to be cured properly to reach the maximum strength. Usually, the curing process is done by keeping the surface wet for a few days so that it doesn’t dry too fast and crack. Allowing enough time for curing makes a great difference in the pool’s lifespan.
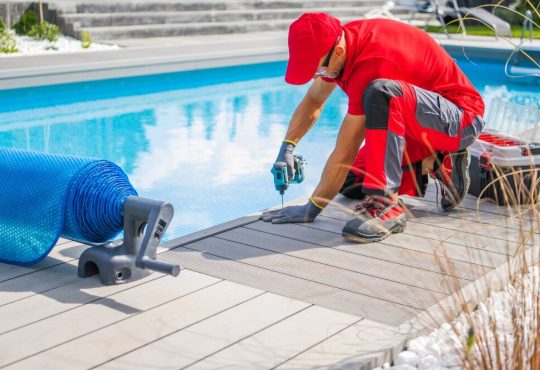
Tile, Coping, and Decking Installation
Once the shell is set, the pool is decorated with different elements for beautifying purposes. Waterline tiles are put up not only to protect the upper interior surface of the pool but also to give the pool a more attractive look. Coping, which is the material used to finish the edge around the pool, is fixed along the perimeter of the pool. Different deck materials, such as concrete, stone, or pavers, are laid to provide a safe and practical area around the pool. Not only that, but proper grading is done so that water drains off the pool structure and doesn’t go towards it.
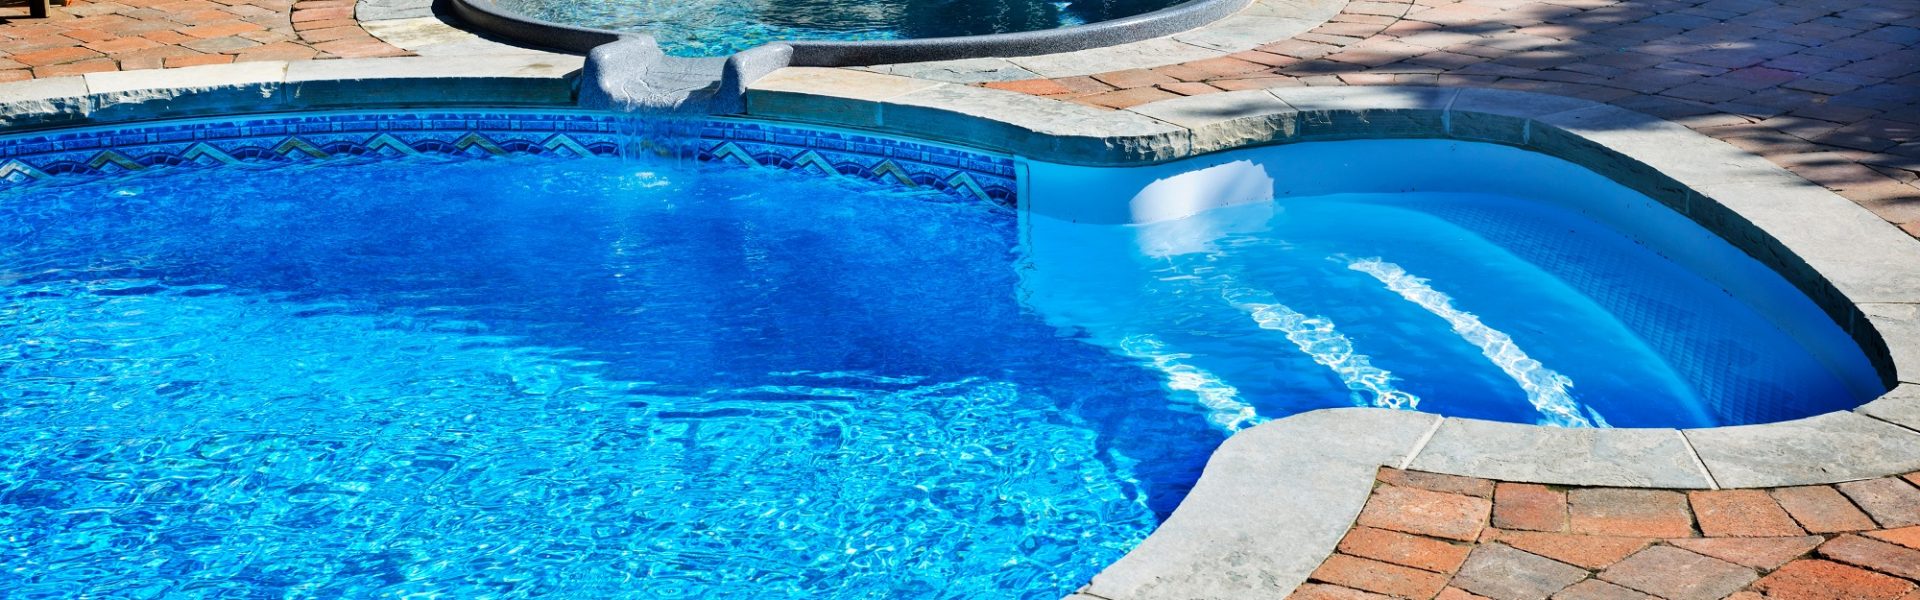
Interior Surface Application and Equipment Installation
The interior surface layer is only applied once the exterior work is completed. Plaster, quartz blends, and pebble aggregates are the most typical surface finishes one can find. This layer not only acts as a waterproof barrier but also transforms the appearance of the pool. Once the interior layer is done, the pumps, filters, heaters, and automation systems are installed and connected. The pool is then filled with water, and the chemicals are balanced so that the water conditions are perfect for swimming.
Final Inspection and Startup
Installing a pool is not only about the construction. Before a swimming pool is officially active, final inspections are carried out to determine whether all building and safety requirements have been met. Function of one’s equipment is verified, the circulation system is tested, and small changes, if any, are made. At this point, homeowners generally have a chat with maintenance professionals to get help with water management and care methods. People who wish to understand the whole process of building a pool, plus its subsequent operations inside and out, may go here.
It is all up to the designers, engineers, and workers to coordinate successfully for the pool building process. If done in an orderly fashion, every step becomes the base of the next, resulting in a permanent quality and functioning recreational feature that is capable of lasting for many years.